Inside a Custom Silicone Mold Build: Pigment, Two Pours and Demolding
This BKSILICONE workshop video follows a custom silicone mold through six stages: assembly, pigment addition, mixing, two separate silicone pours, and demolding. The photographs below are frames from the same project video.
Watch the complete process
If the player does not appear, watch the original BKSILICONE video on YouTube.
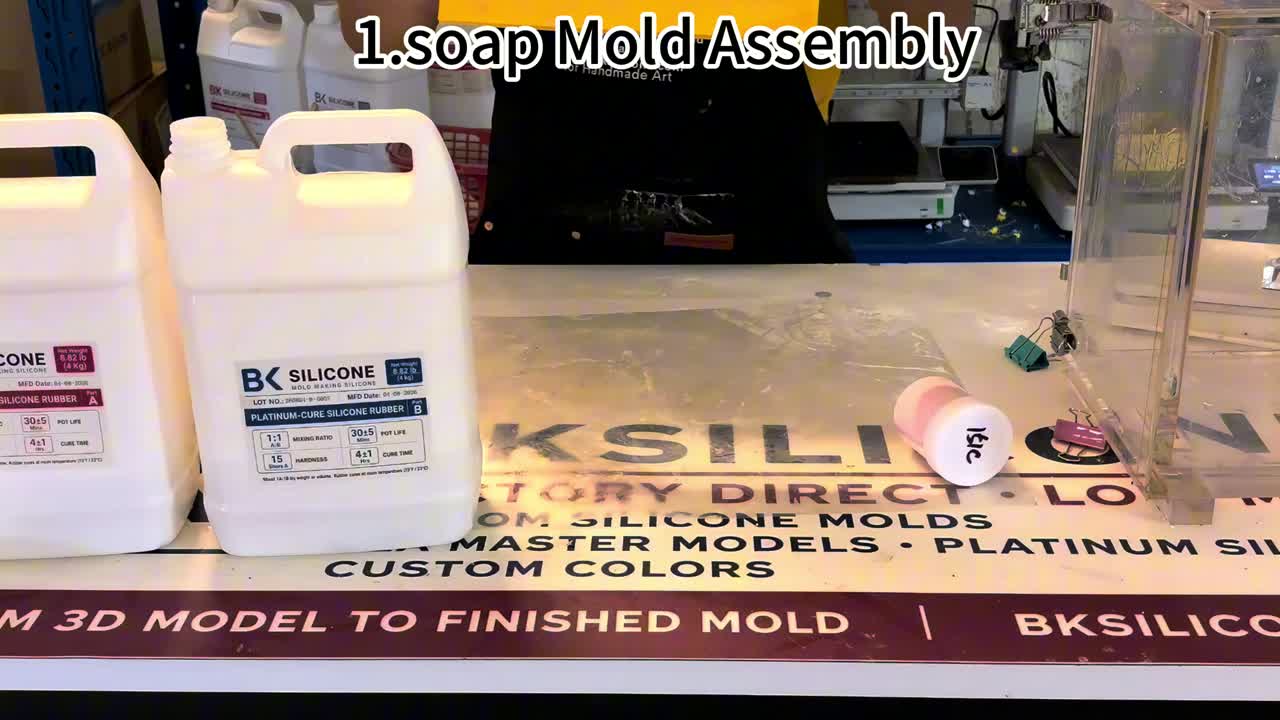
1. Mold assembly
The process begins with mold assembly. This establishes the setup shown in the video before the silicone preparation and pouring stages.
2. Add silicone pigment paste
The video specifies silicone pigment paste at 0.4–0.6% by weight for this project. This is the amount documented in this process, not a universal recommendation for every silicone system. Follow the specifications for the silicone and pigment you are using.
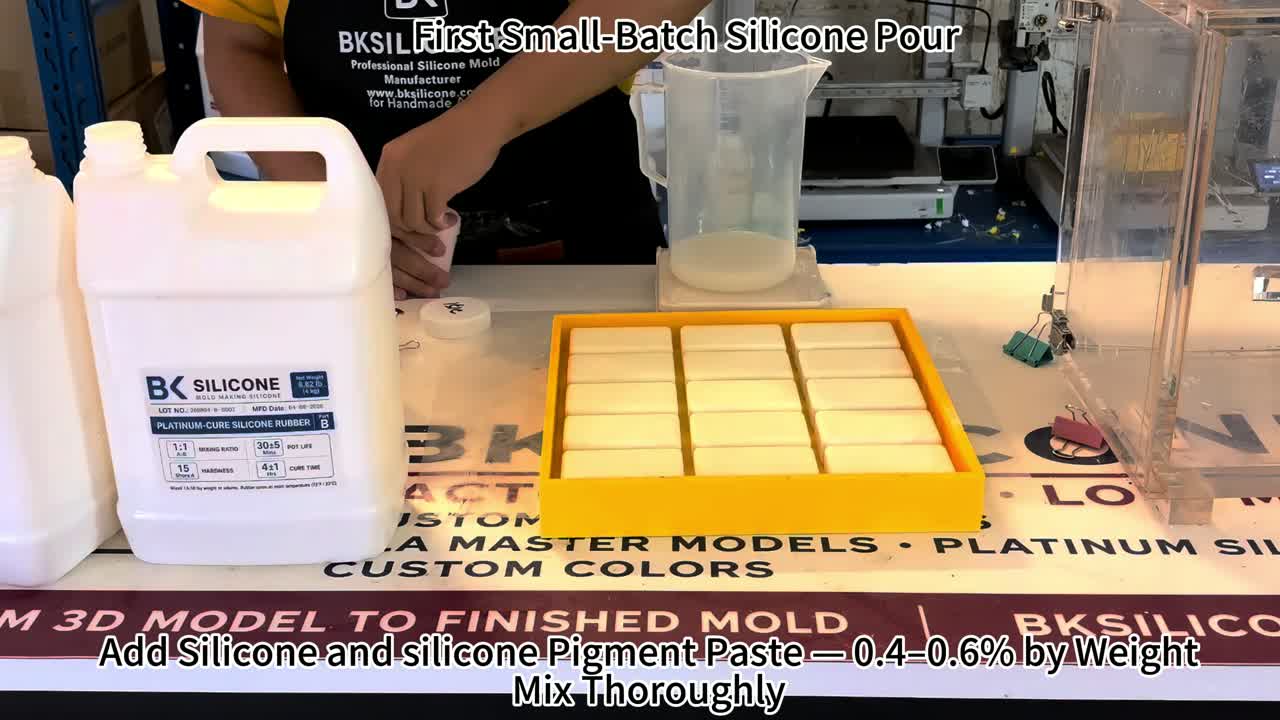
3. Mix thoroughly
The next instruction is to mix thoroughly. The sequence keeps silicone preparation and mixing together before moving on to the first pour.
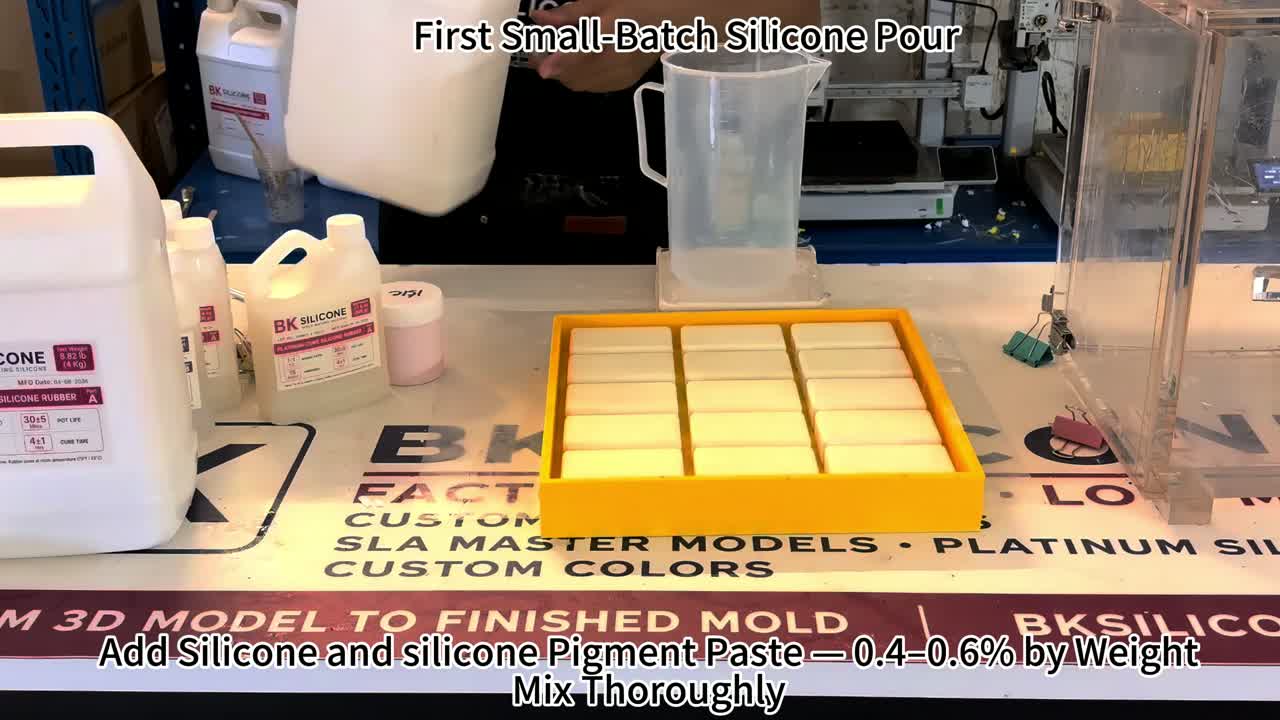
4. Make the first small-batch silicone pour
The first pour uses a small batch of silicone. The video presents this as a distinct stage before the second silicone pour.
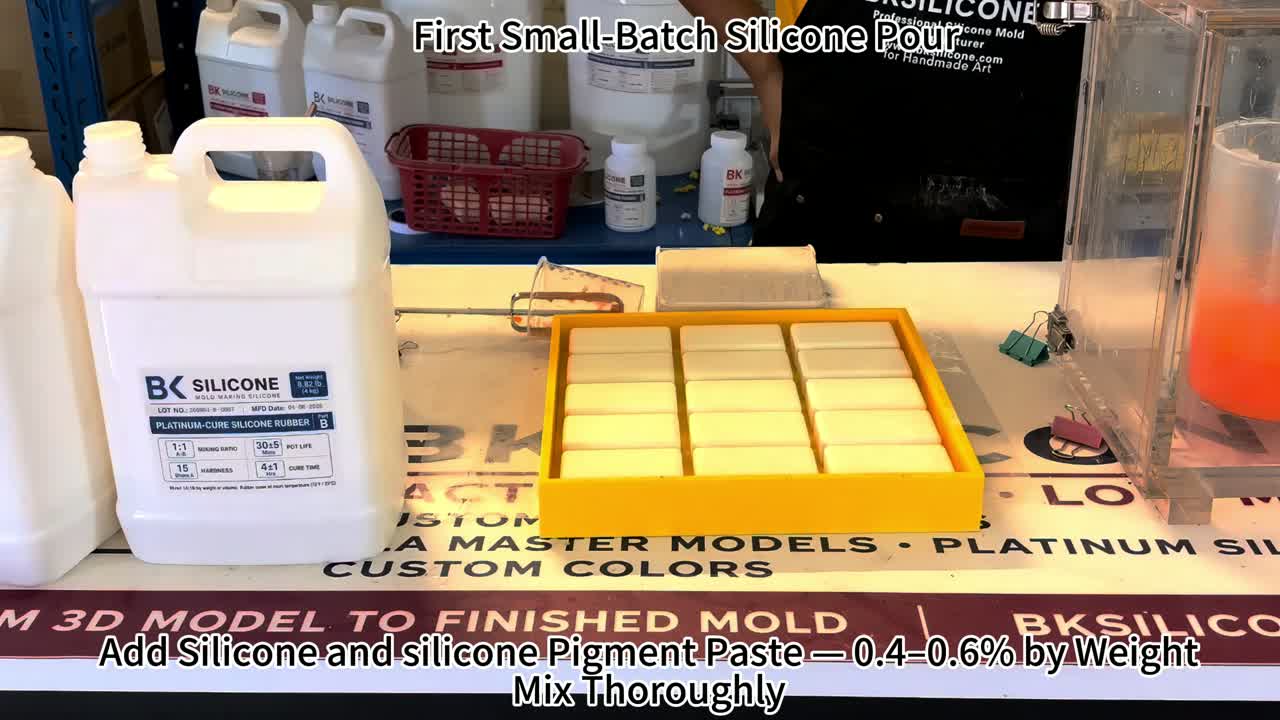
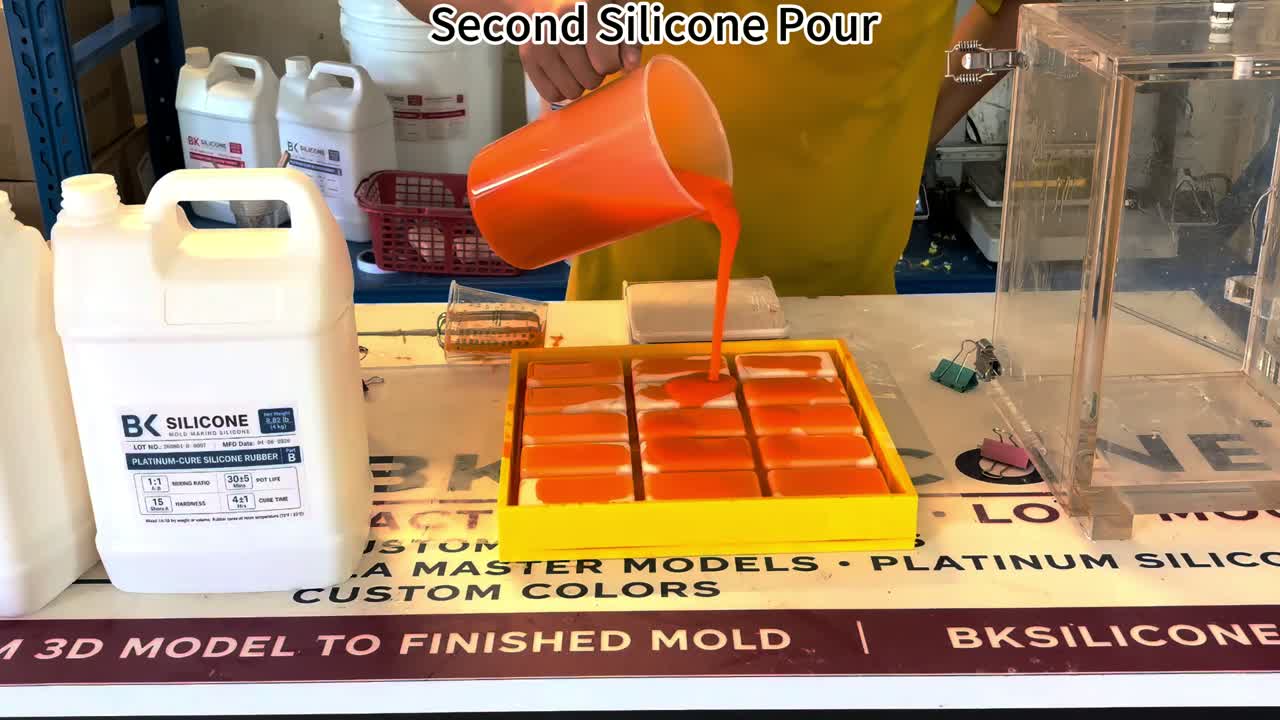
5. Make the second silicone pour
A second silicone pour follows. Keeping the two pours separate in the process description makes the order of operations clear; no waiting interval between them is specified here.
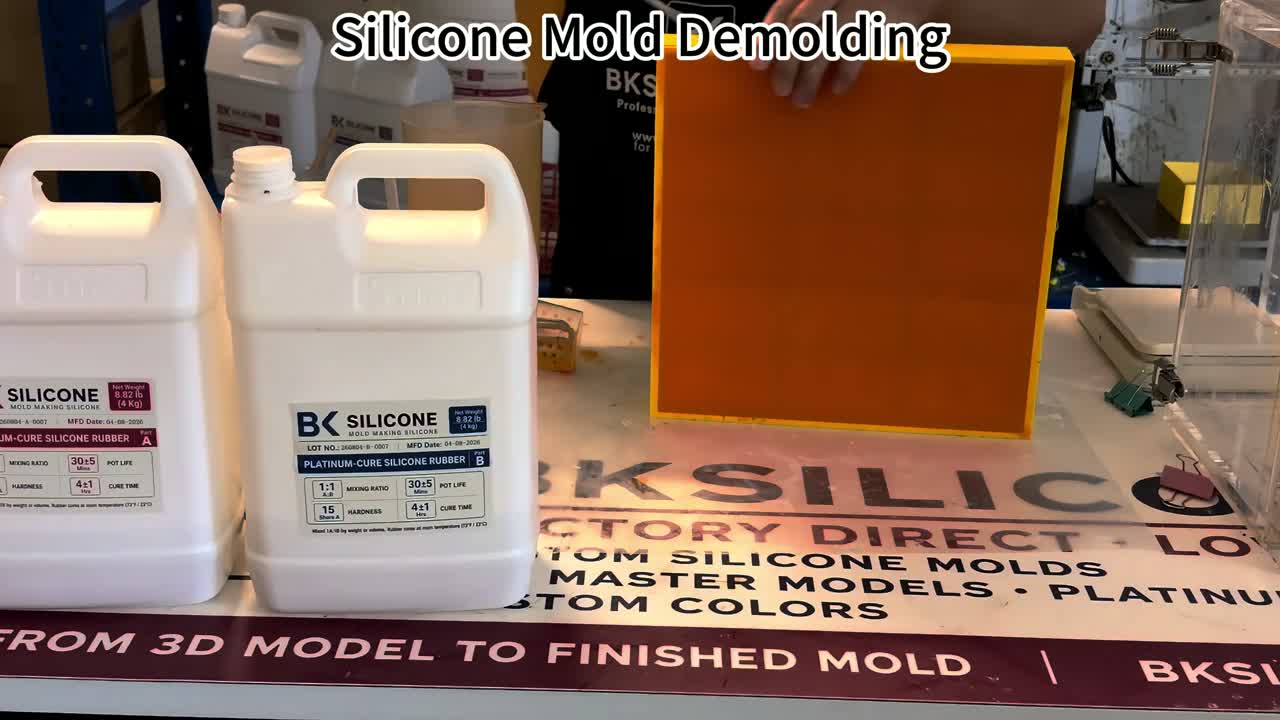
6. Demold the silicone mold
The final stage shown is silicone mold demolding. A curing duration is not specified in this article; use the curing requirements of the actual silicone system rather than borrowing a time from another project.
Project notes
This is a custom mold-making process record, not an in-stock product listing. It contains no customer-identifying information or product purchase links.
For the original workshop article, visit BKSILICONE’s silicone mold making process overview.


Comments
Post a Comment