From a 3D-Printed Athena Master to a 30CM Silicone Mold
A 3D print does not always have to be the final product. In this G6002 workshop project, we used a 3D-printed Athena sculpture as the master for a 30CM silicone mold, then validated the finished mold with a real plaster casting test.
The project moved through a clear workshop sequence: 3D-Printed Master → Mold Housing → Silicone Pouring → Demolding → Plaster Casting → Final Result.
Watch the complete G6002 workshop video on YouTube
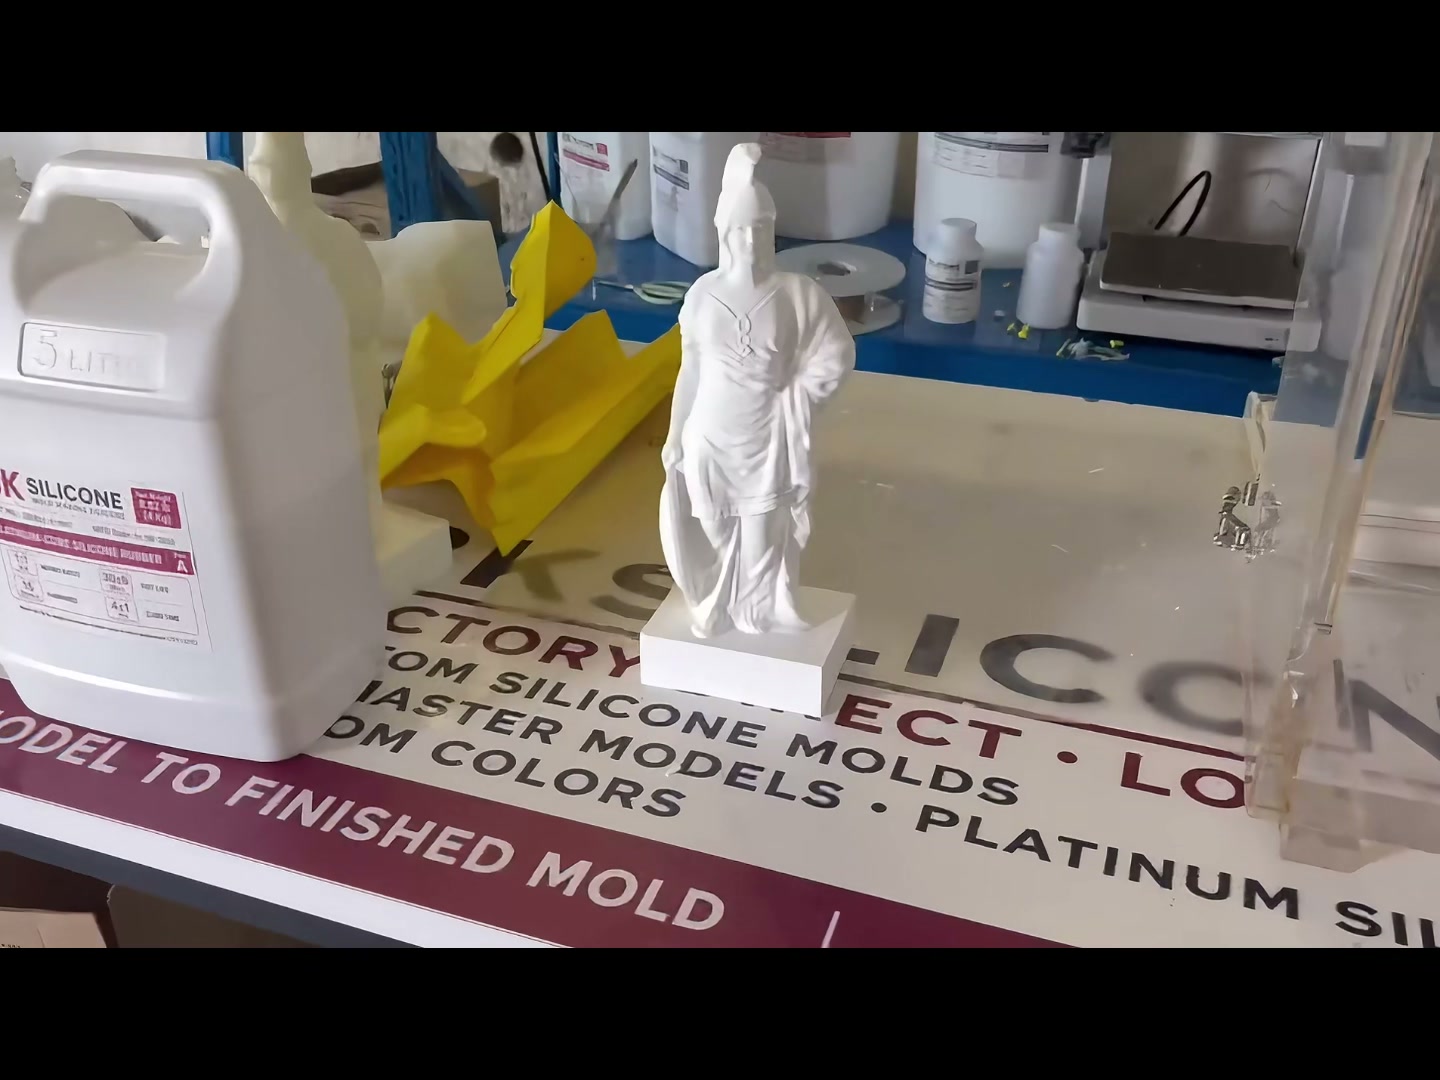
Starting With the 3D-Printed Master
The starting point was an approximately 30CM 3D-printed Athena sculpture. Here the print served as the mold-making master: its form and visible surface details were the features the silicone needed to capture.
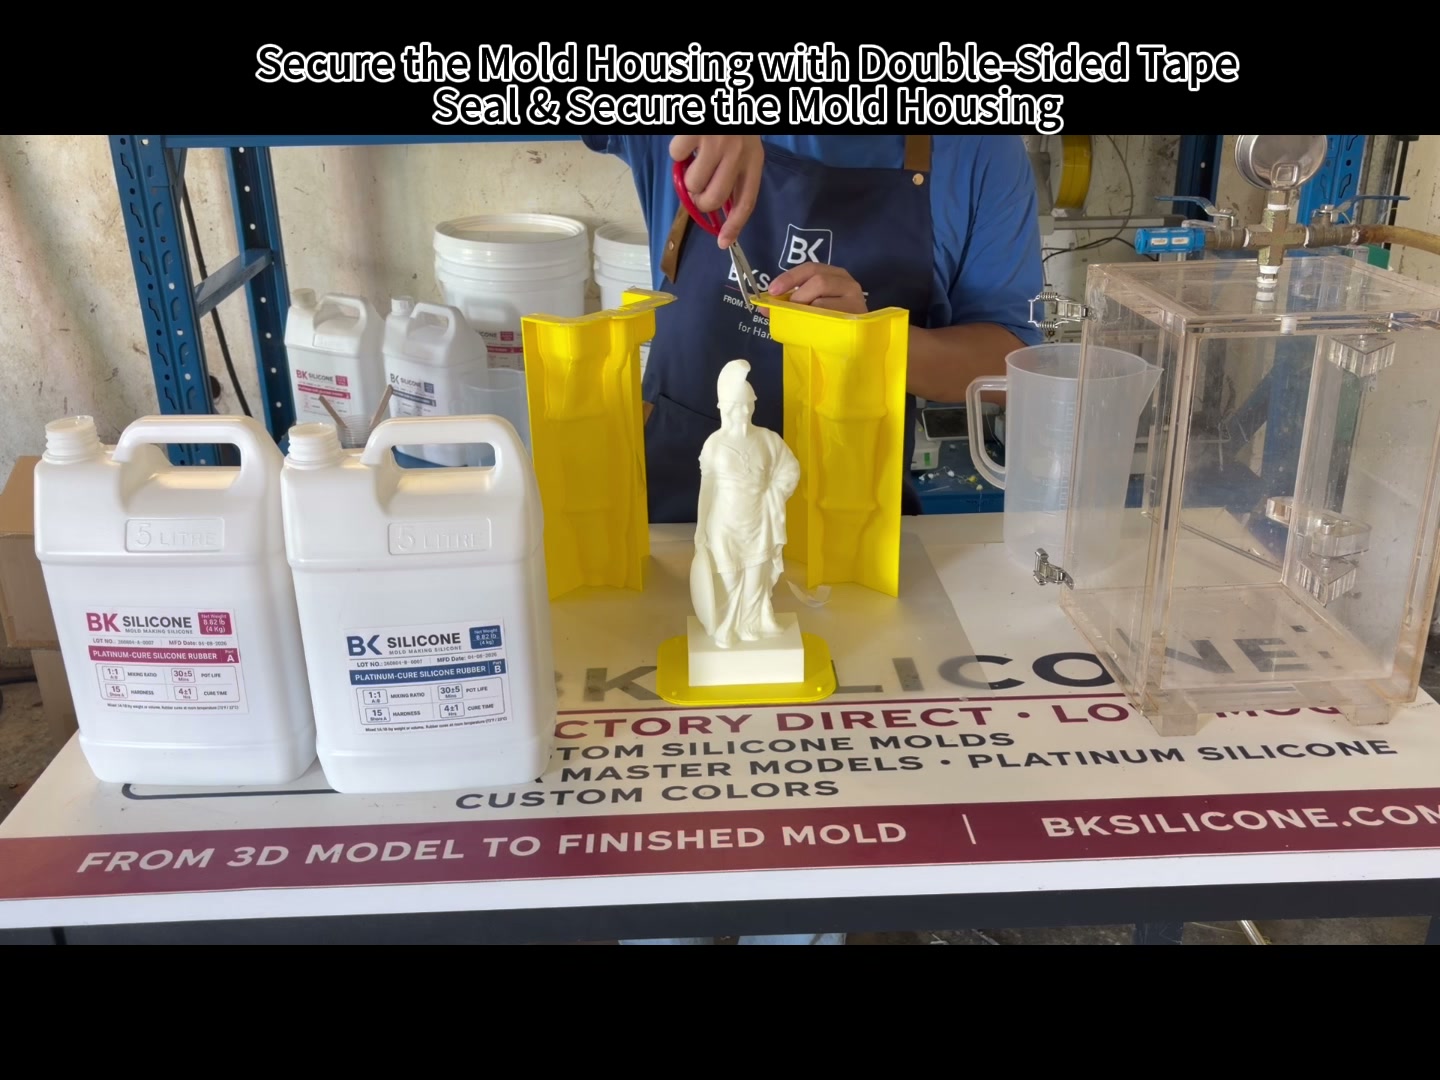
Preparing the Mold Housing
The master was positioned inside a rigid mold housing. We secured the housing and used double-sided tape as part of the bottom sealing process. For a larger mold, the bottom and joined edges need careful attention before liquid silicone is poured. Careful sealing helps reduce leakage risk, but it is not an absolute guarantee.
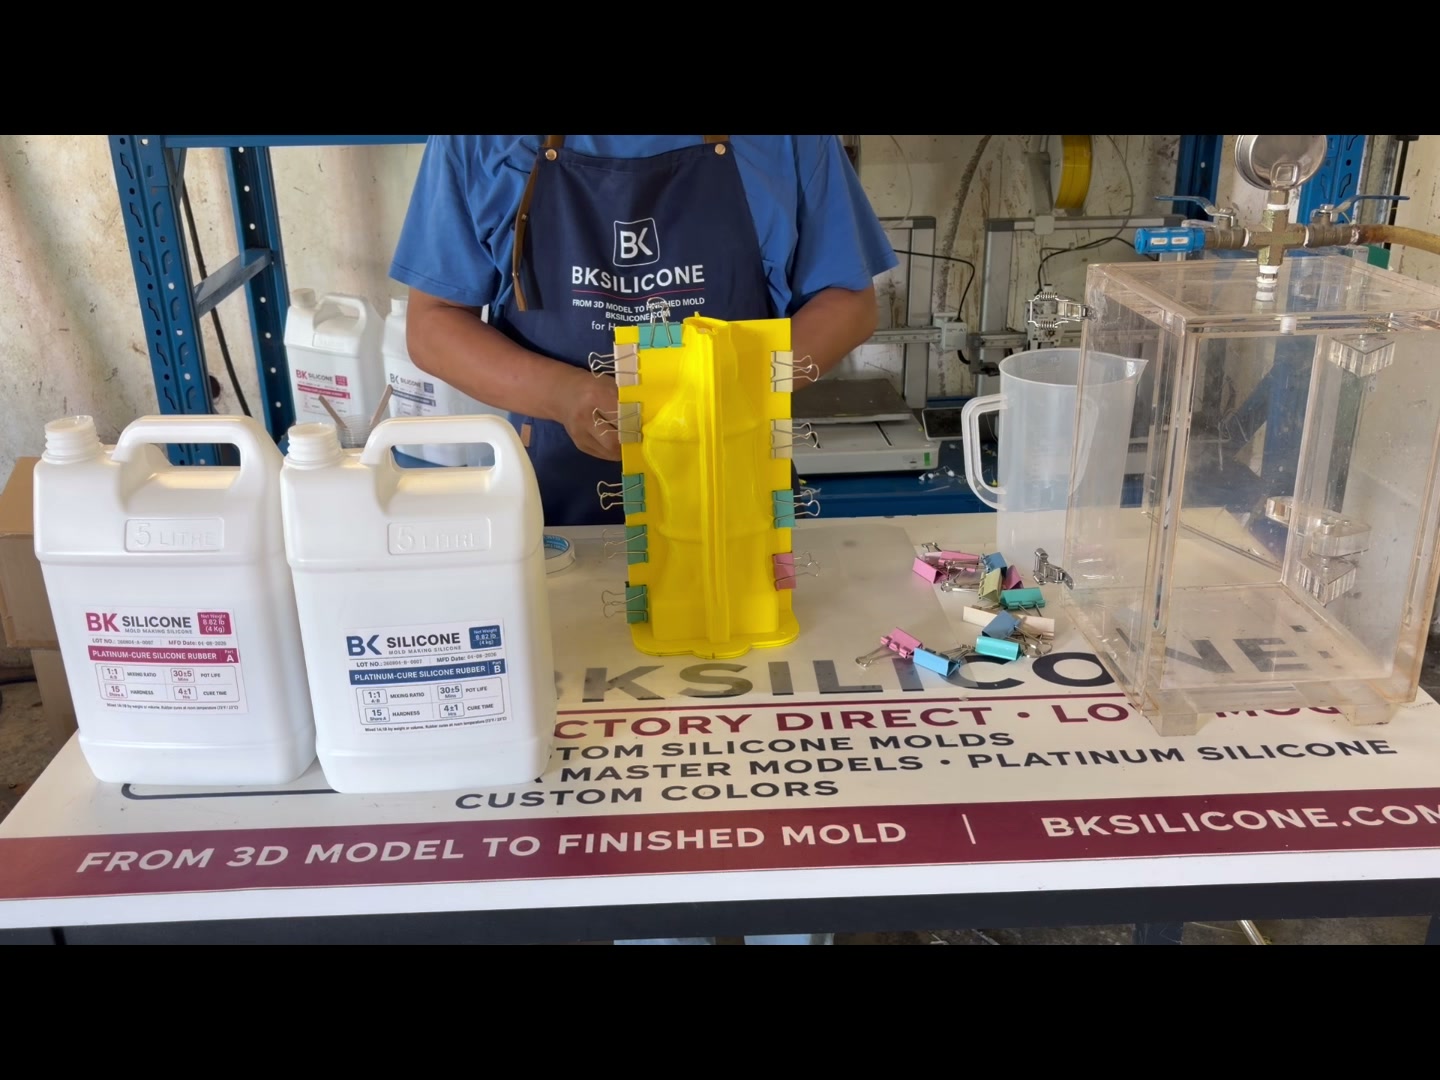
First Small Silicone Pour
We started with a smaller first silicone pour to reduce pressure near the bottom and help lower the risk of leakage during the initial stage. The limited starting volume also gave us time to observe the lower seal before adding the remaining material.
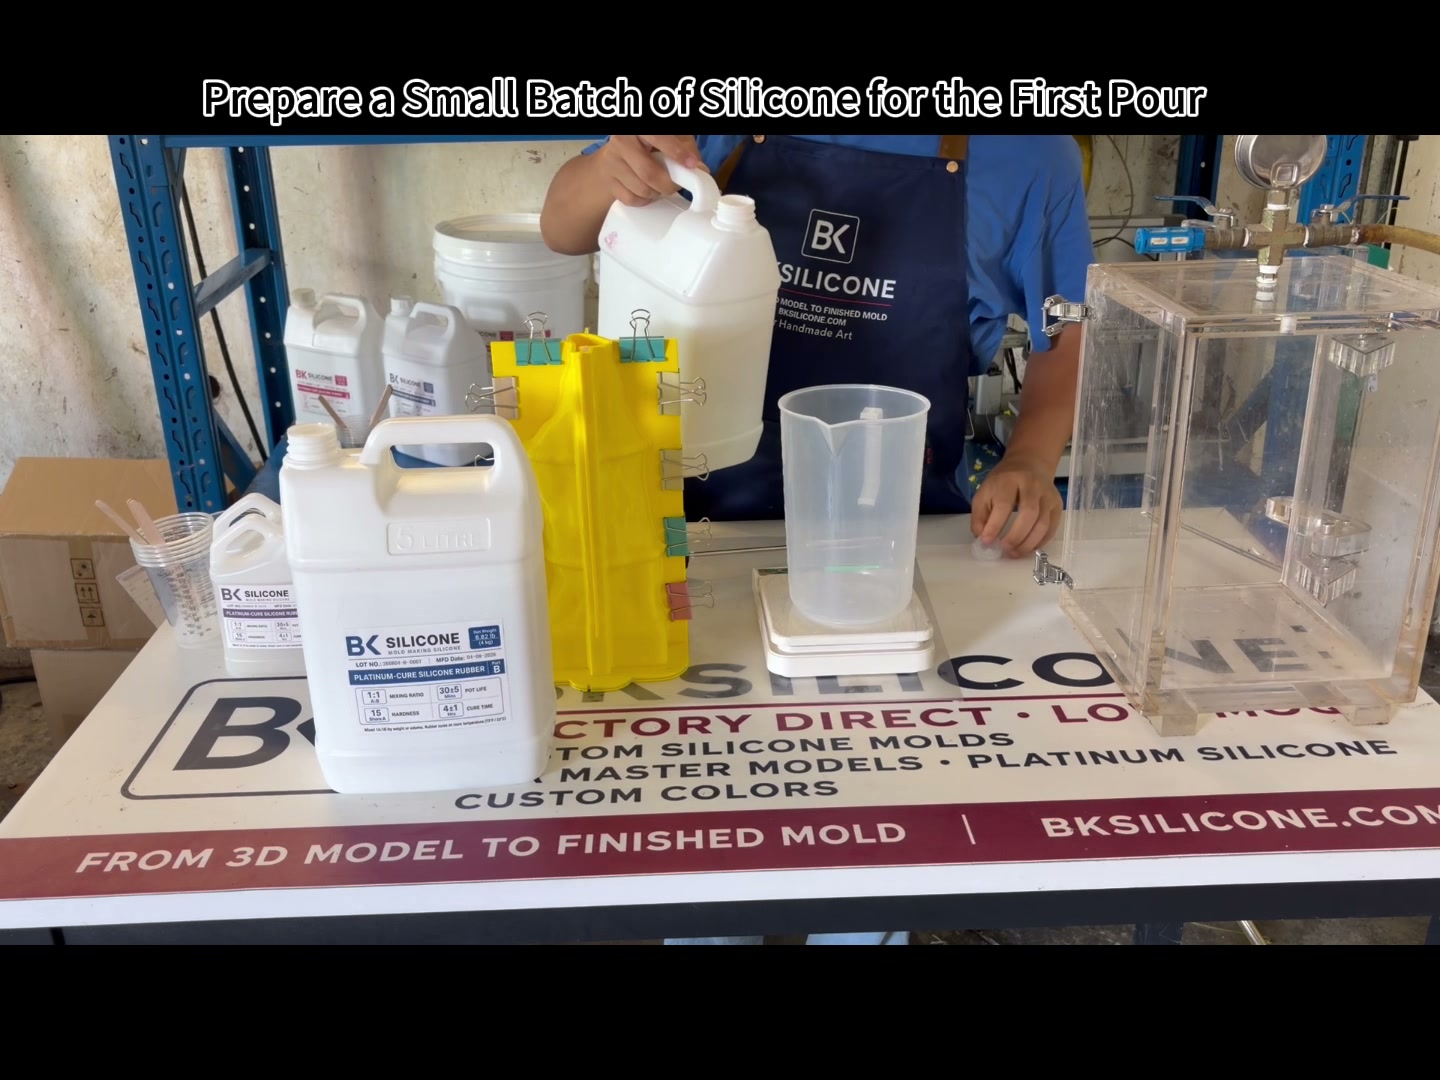
About 40 Minutes Later
About 40 minutes later, the first stage had stabilized enough for the next part of the pour. This was the actual interval used for G6002, not a universal timing rule for every mold or silicone.
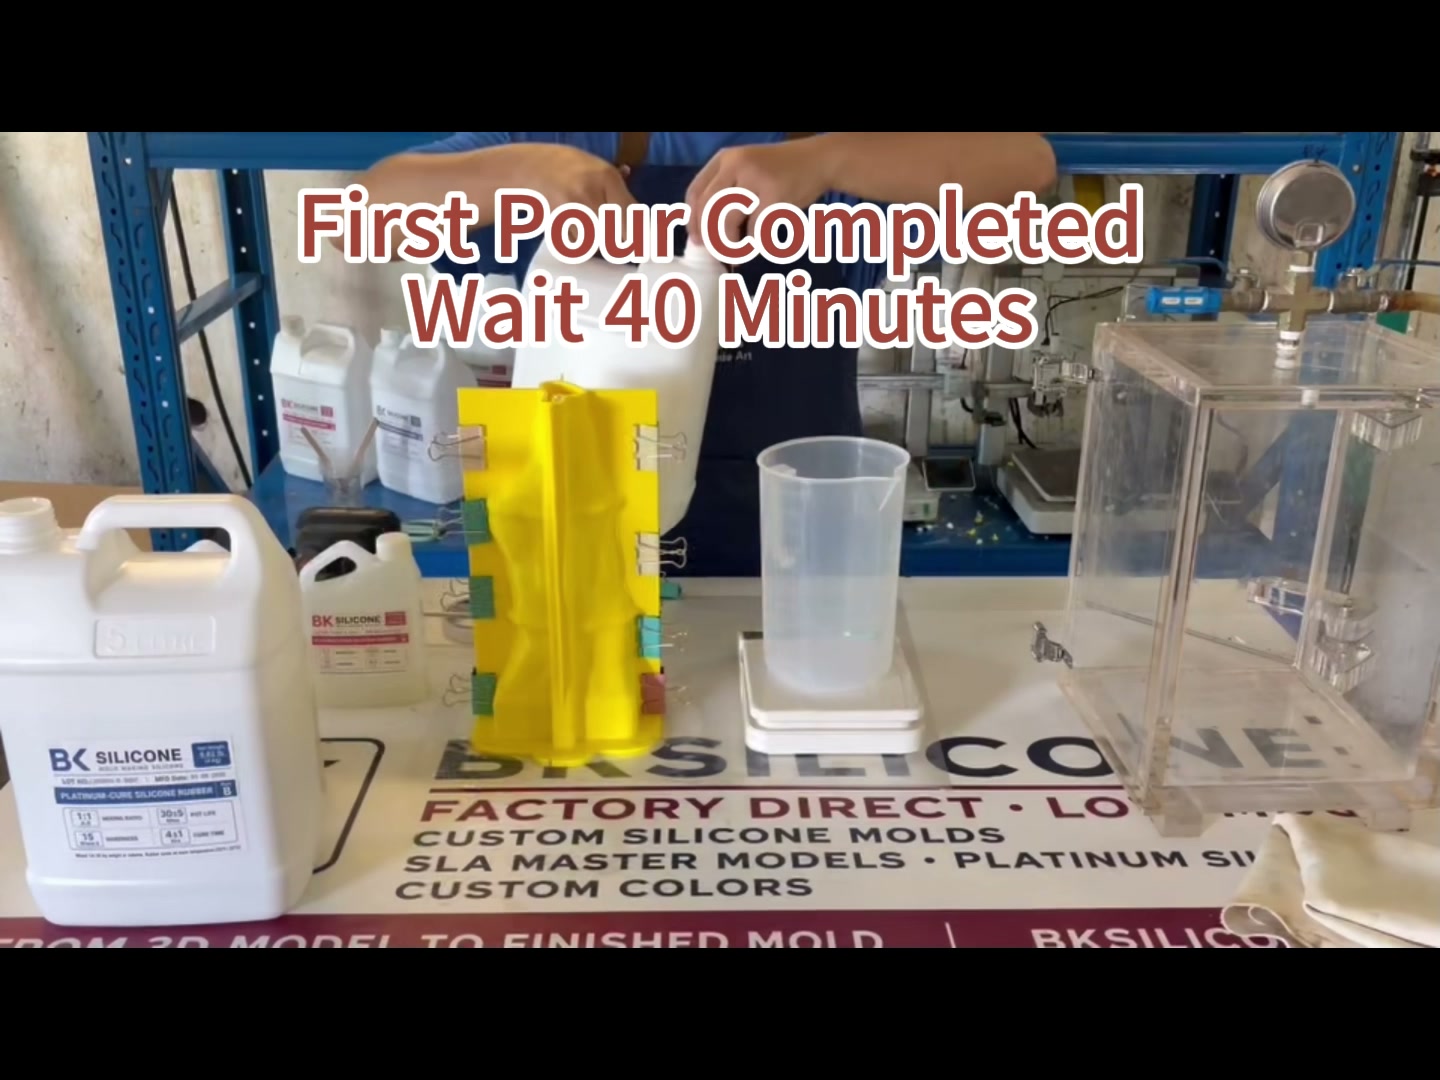
Second Silicone Pour
The second pour continued until the silicone reached the full height required around the master. We monitored the bottom and joined edges while the level increased.
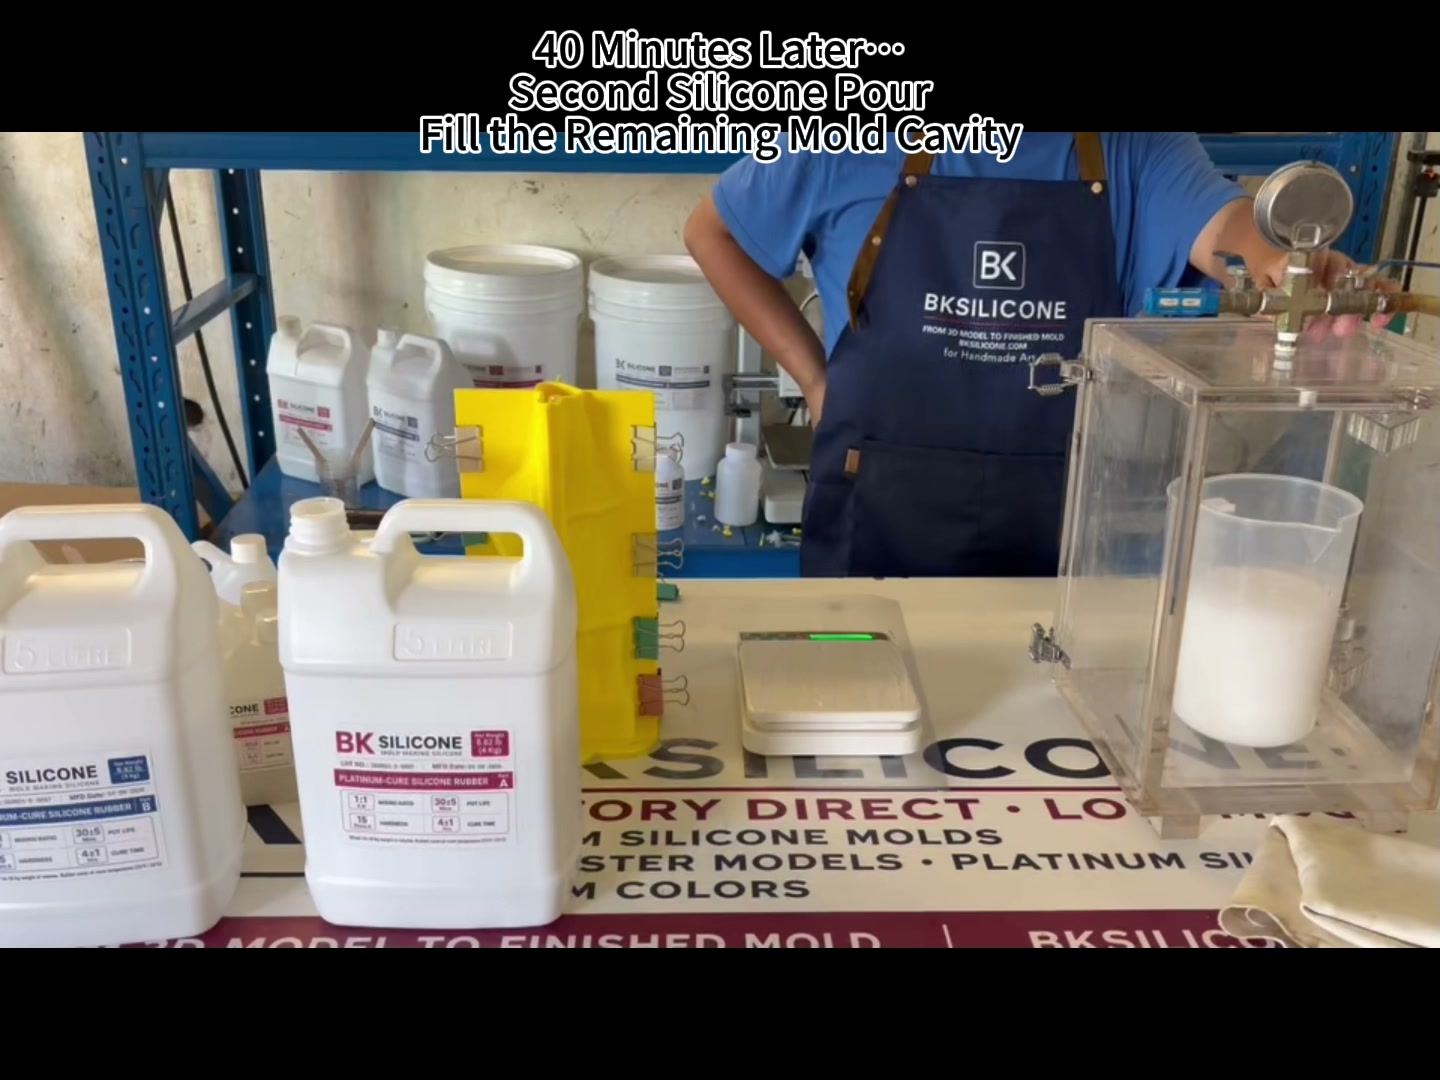
Silicone Curing
For this specific G6002 project, the silicone used was labeled with a curing time of 4±1 hours. This value belongs to the material used for this workshop case and should not be treated as a universal curing time for every silicone material or every BK-A Series application.
Demolding the Silicone Mold
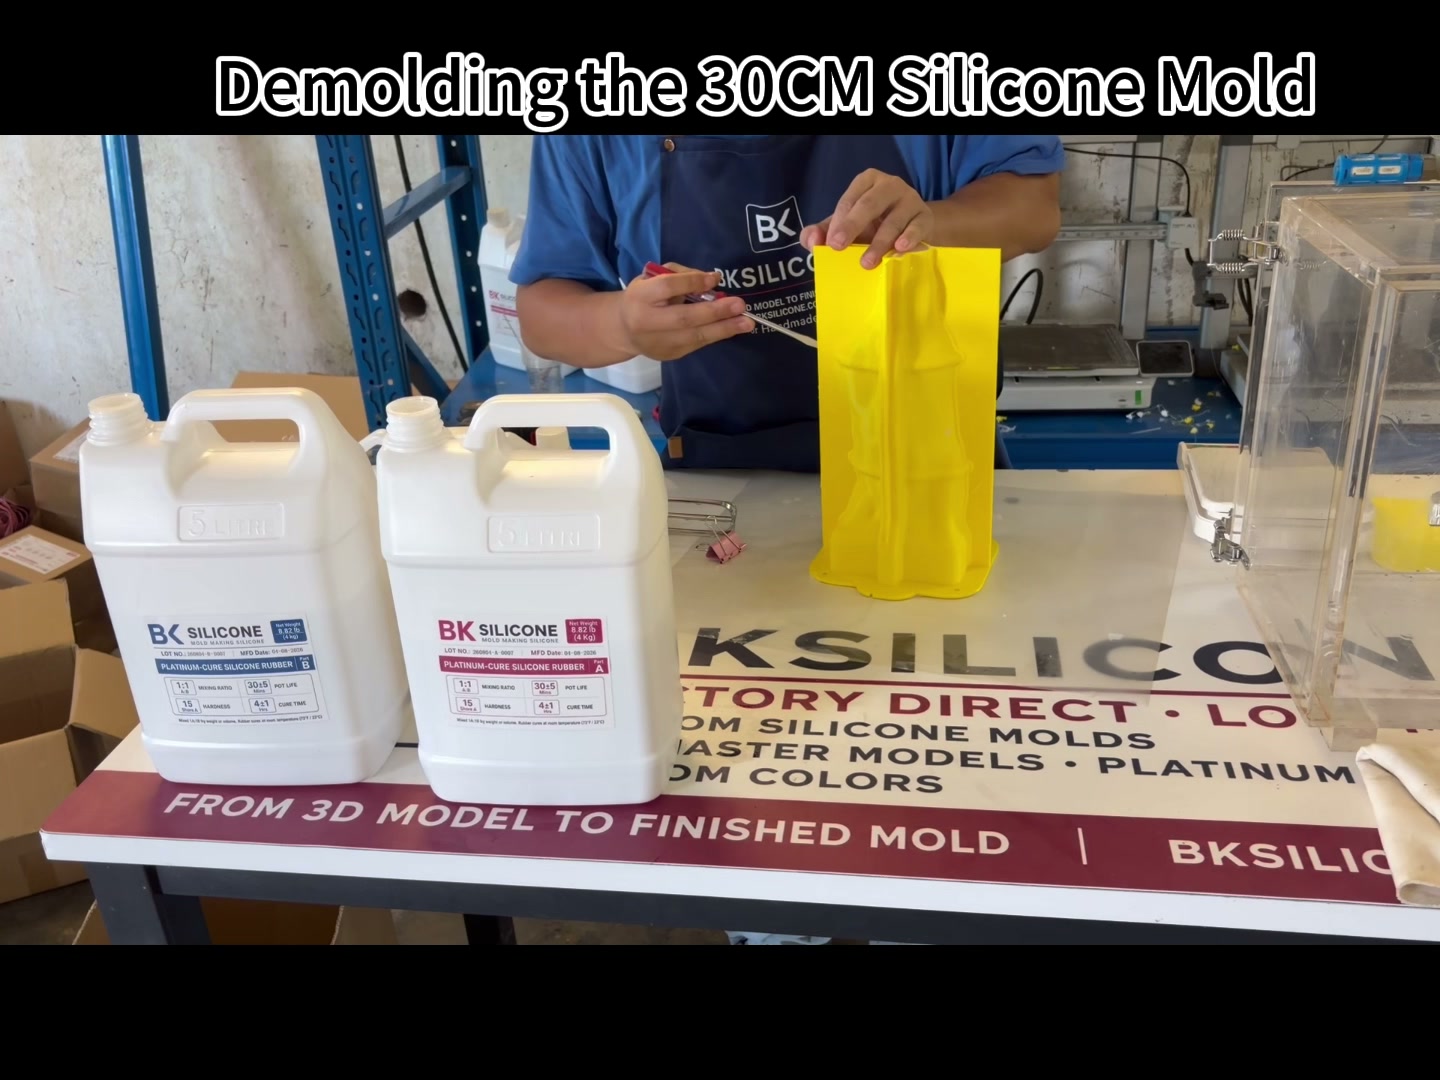
After curing, the rigid housing was removed and the flexible silicone mold was gradually separated from the 3D-printed master. The mold was released progressively so its reproduced surfaces and projecting details could be inspected without relying on a single aggressive pull.
Trimming and Finishing
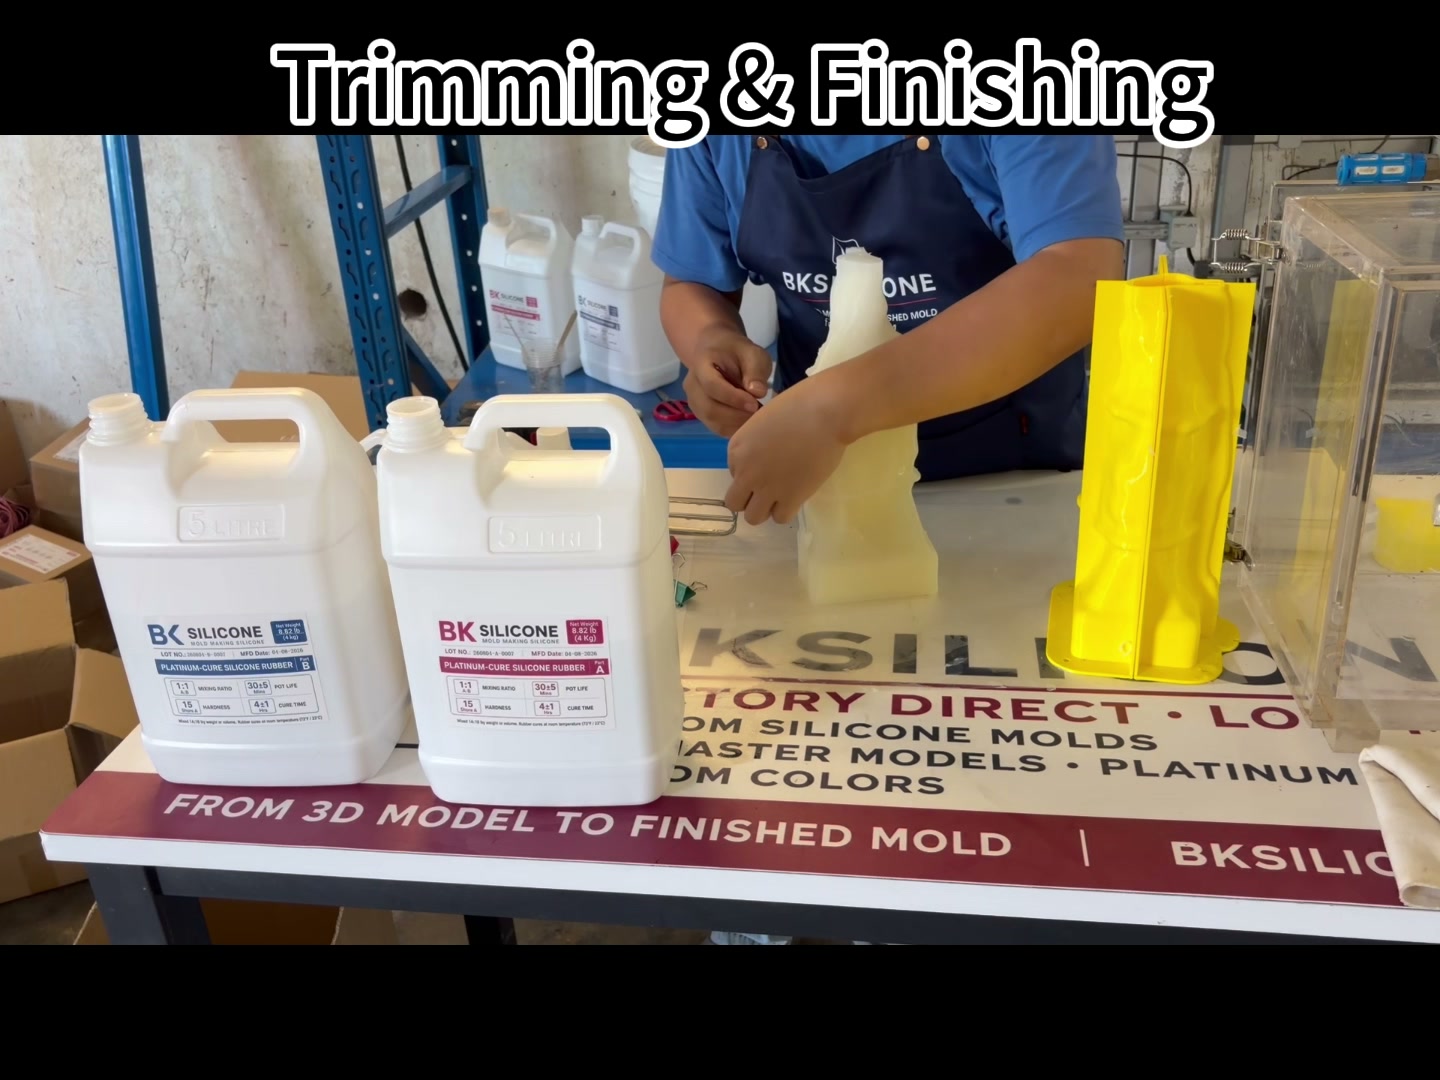
The G6002 workshop footage includes trimming and edge finishing after demolding. Excess silicone around the working edges was removed, and the opening and internal details were checked before casting.
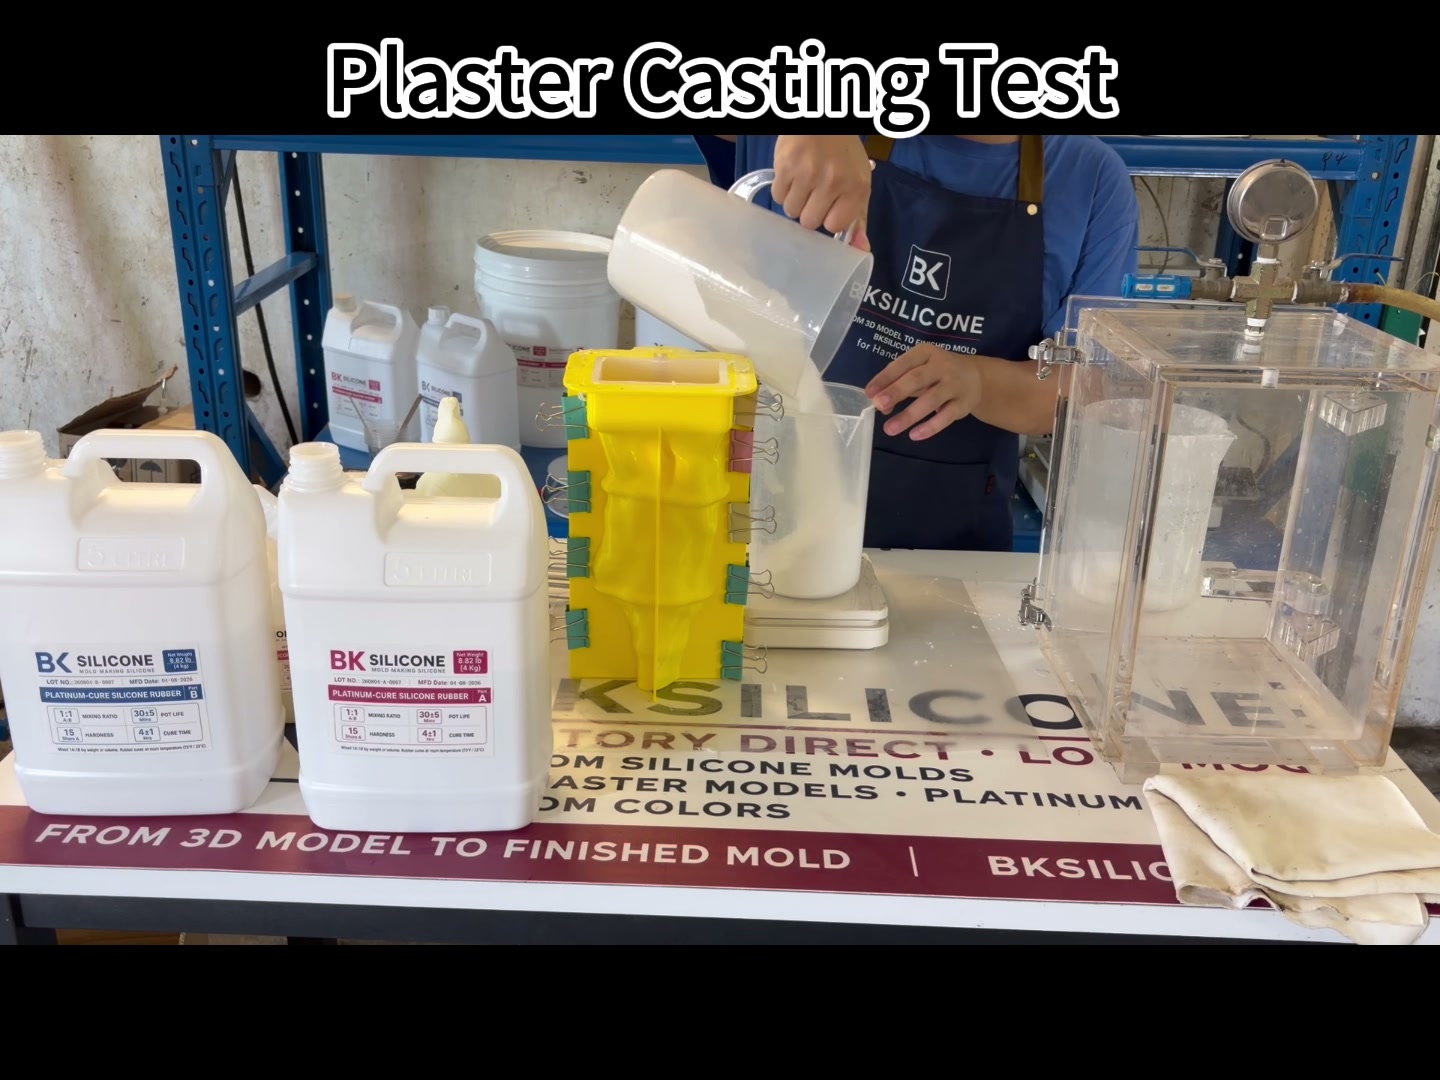
Plaster Casting Test
We carried out a real plaster casting test to verify the overall shape, check visible surface detail, and validate the mold's reproduction of the Athena master. No plaster brand, mixing ratio, or curing specification is stated because those details were not established in the G6002 project record.
Final Result
The project started with a 3D-printed master and ended with a reusable silicone mold and a successful plaster casting.


Comments
Post a Comment